

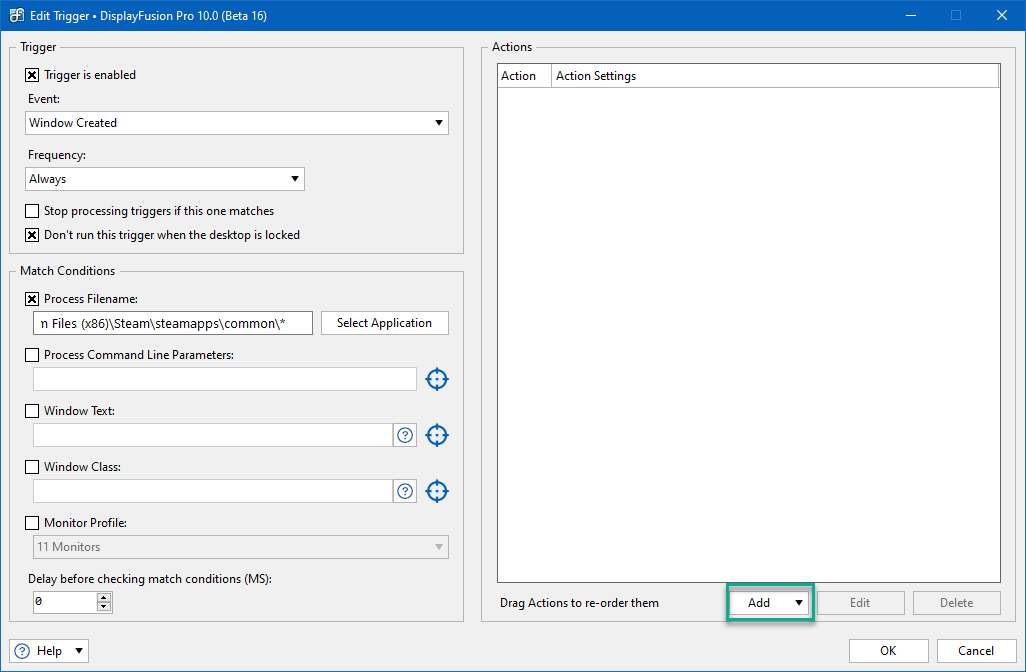
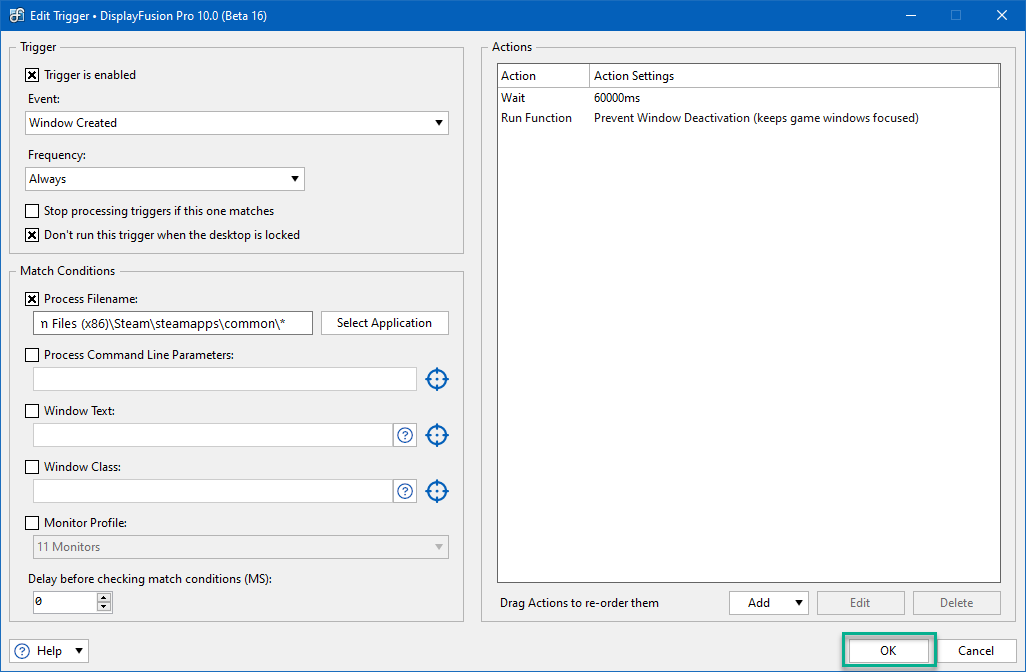
C:\Program Files (x86)\Steam\steamapps\common\*
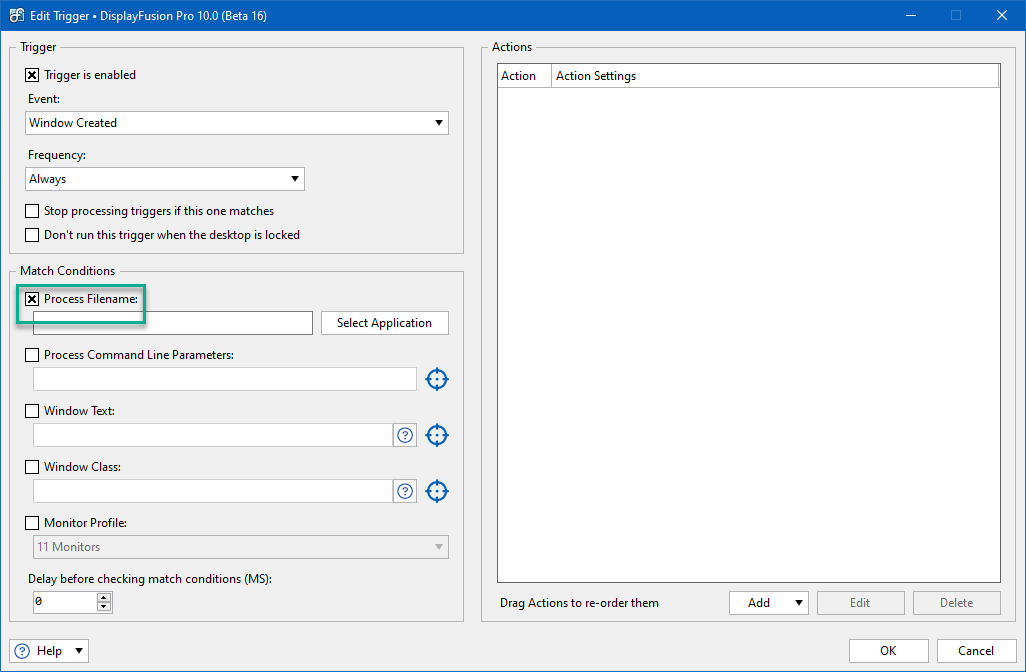
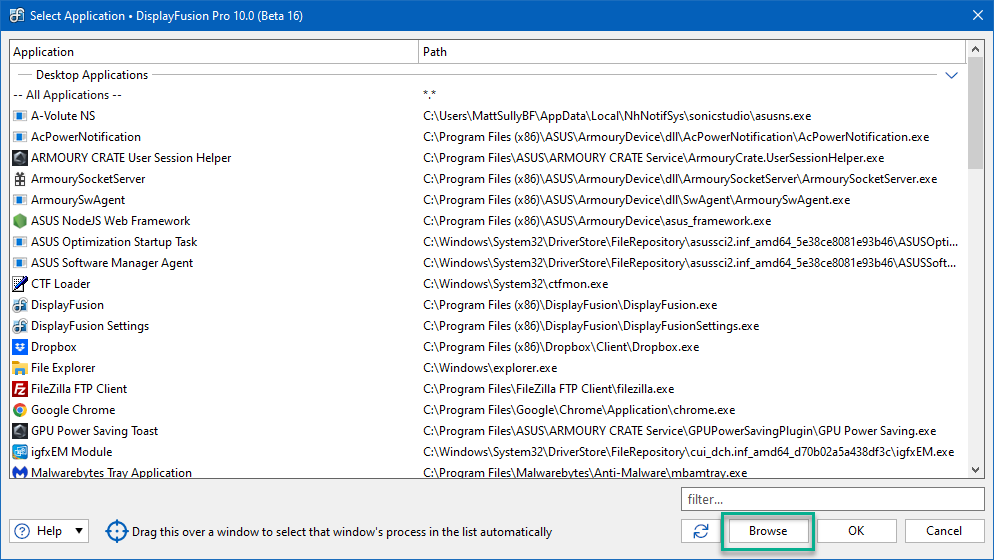
D:\Games\*
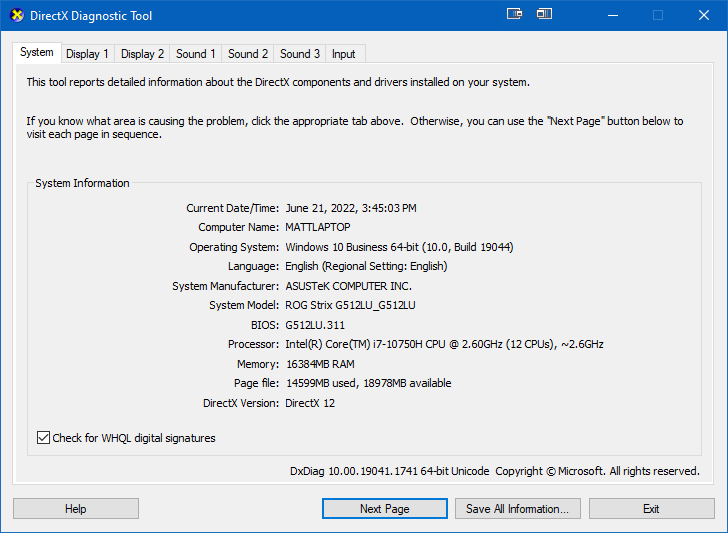
dxdiag


Update: The sale is now over, thanks everyone!
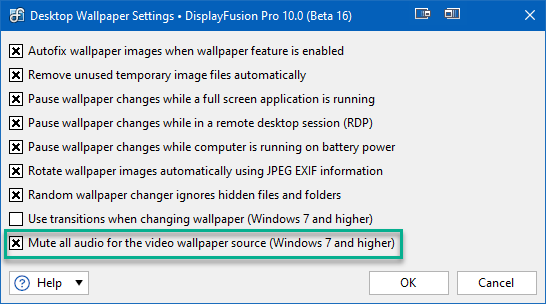
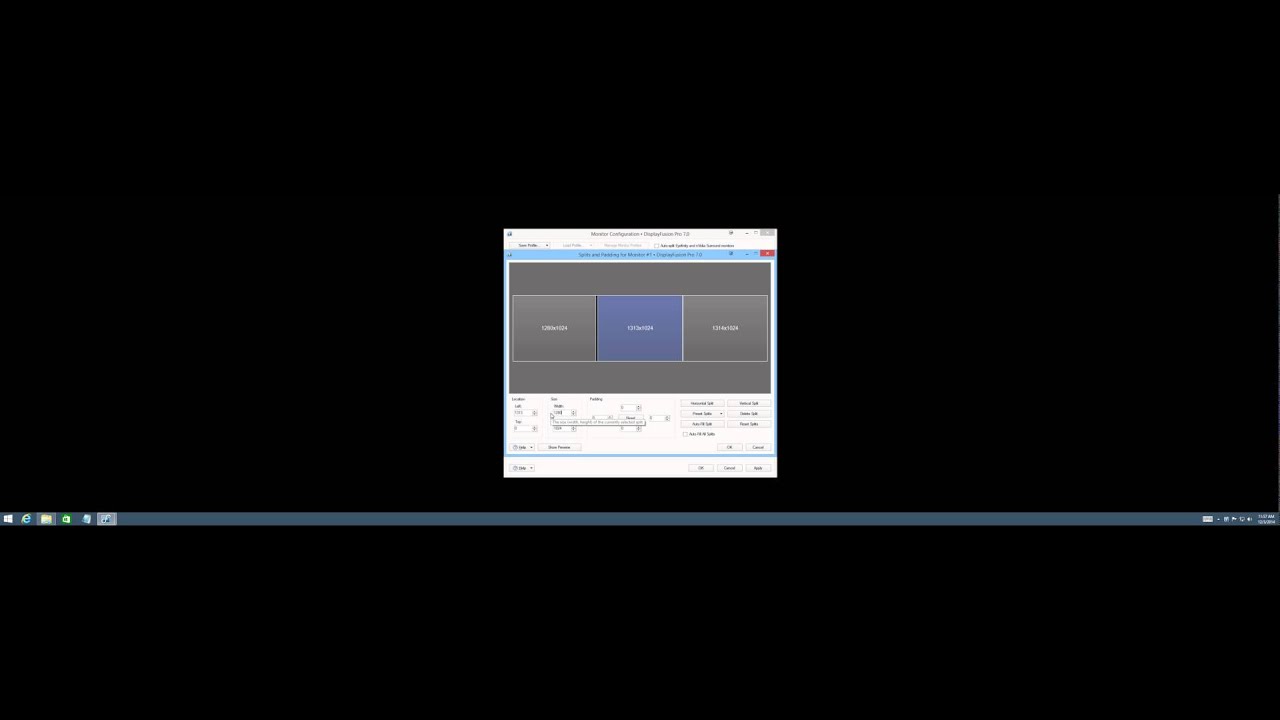
We're very excited to announce that DisplayFusion 7.0 is now available for download! This release contains a huge number of new wallpaper providers, asymmetrical monitor splitting, monitor splitting support for Surround/Eyefinity setups with bezel compensation, Scripted Functions, and much more!
All of our desktop products are on sale at up to 40% off until January 2nd!
Check out the holiday savings on DisplayFusion, ClipboardFusion, FileSeek, iTunesFusion and LogFusion!
We encourage everyone to update to this new version today to take advantage of these improvements. If you've already purchased DisplayFusion, it's a lifetime license, so you can upgrade to this version at no cost! If you would like to see a complete list of all the changes, please visit the DisplayFusion Change Log. We'd like to send out a big thanks to the dozens of people who helped with the DisplayFusion translations, and the thousands of people that helped test the Beta versions. Thanks everyone!
We're very excited to introduce CheckCentral, an incredible new way to manage all of your email alerts & notifications! As system administrators, we know the pain of having to wade through a pile of notification emails every day. Trying to set up some sort of system to deal with them within your inbox is a time-consuming and frustrating experience. Worst of all, there's no good way to deal with notification emails that, for whatever reason, never arrive at all. Perhaps a scheduled task on a server doesn't fire properly, and your backup application never starts to backup. That's certainly something you'd like to be made aware of! To handle that sort of scenario, CheckCentral brings intelligence to email notification management. CheckCentral will know what notifications to expect & when to expect them based on rules you set up. For more information, please see our introduction to CheckCentral!


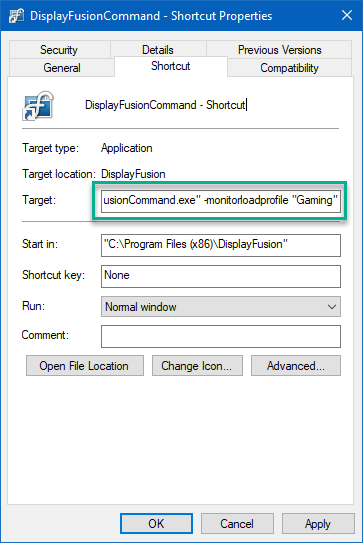
-monitorloadprofile "monitor profile name"
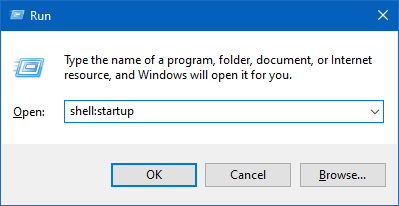
shell:startup

Update: The sale is over! Thanks to everyone who bought a license!
It's sale time again! Celebrate Black Friday and Cyber Monday with some amazing deals on all of our software!We're offering all of our products at a sale price of up to 50% off, until December 2nd!
If you're not familiar with all of our apps, feel free to check them out on our More Apps page.


