We're very excited to announce that DisplayFusion 9.2.1 is now available for download! This version fixes up a few important issues that were present in 9.2.
We encourage everyone to update to this new version today to take advantage of these improvements. If you've already purchased DisplayFusion, it's a lifetime license, so you can upgrade to this version at no cost! If you would like to see a complete list of all the changes, please visit the DisplayFusion Change Log. We'd like to send out a big thanks to the dozens of people who helped with the DisplayFusion translations, and the thousands of people that helped test the Beta versions. Thanks everyone!
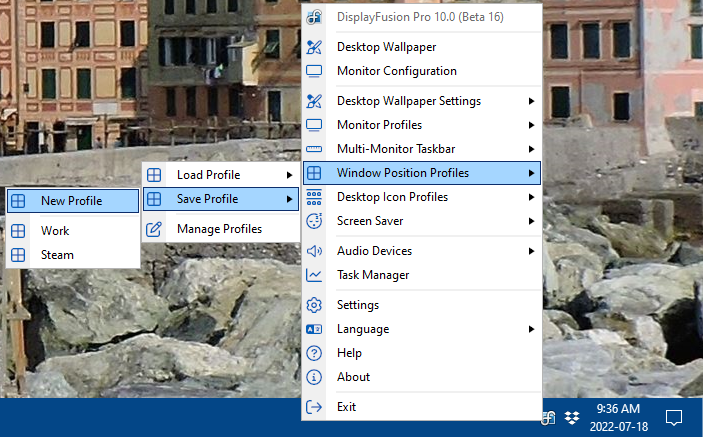
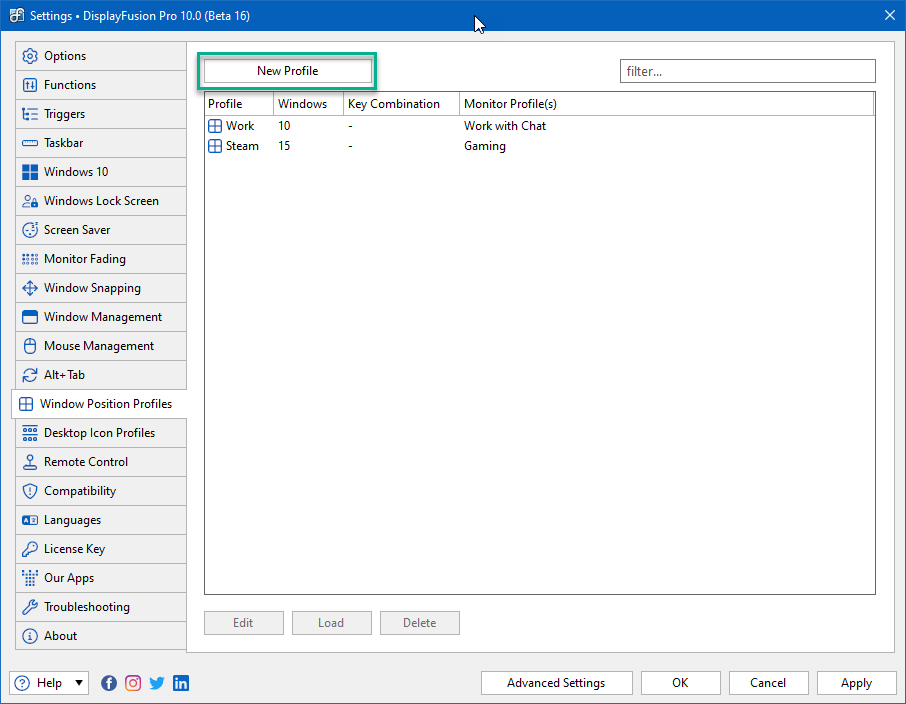
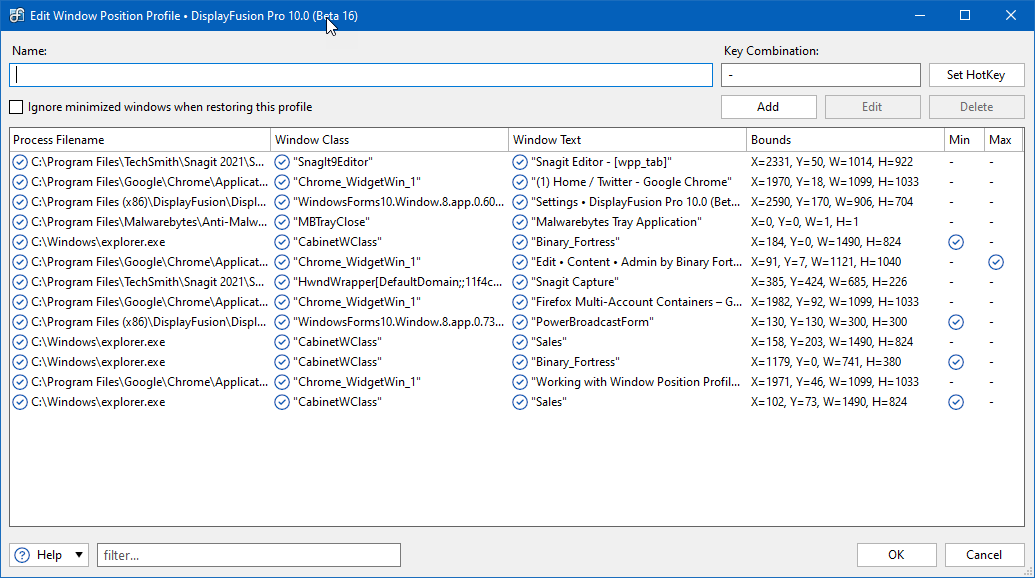
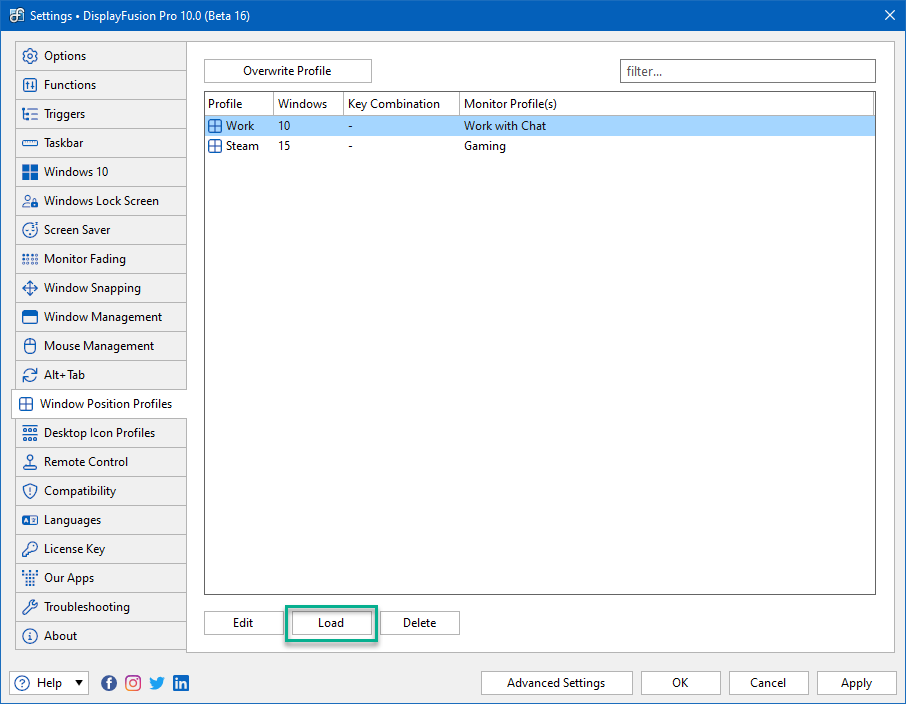
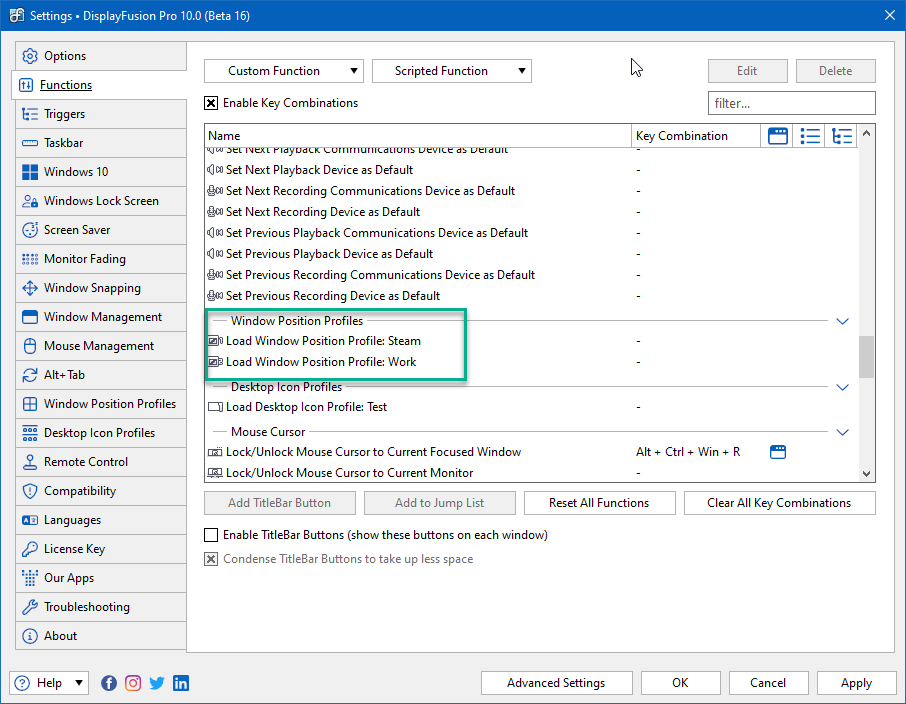
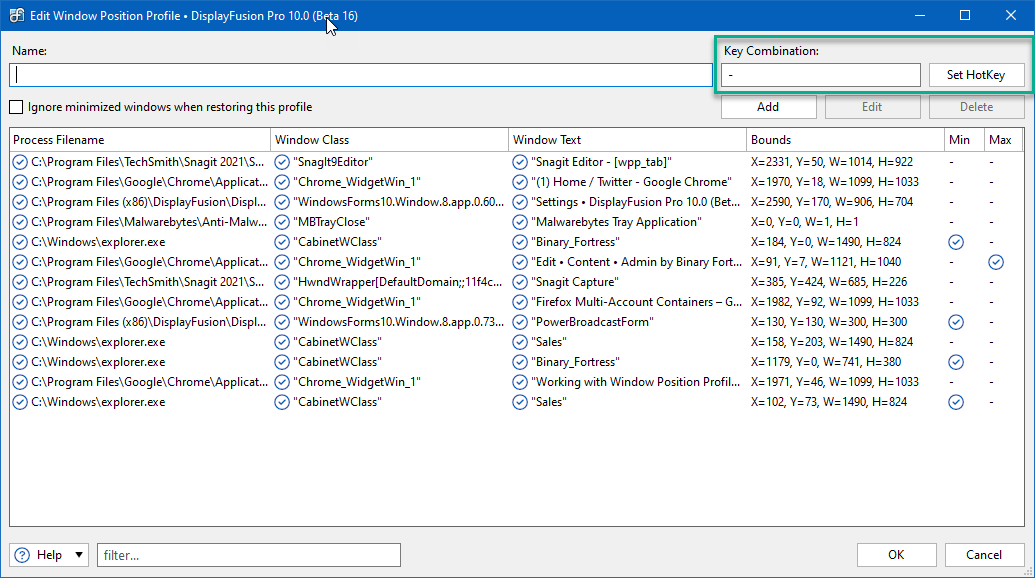
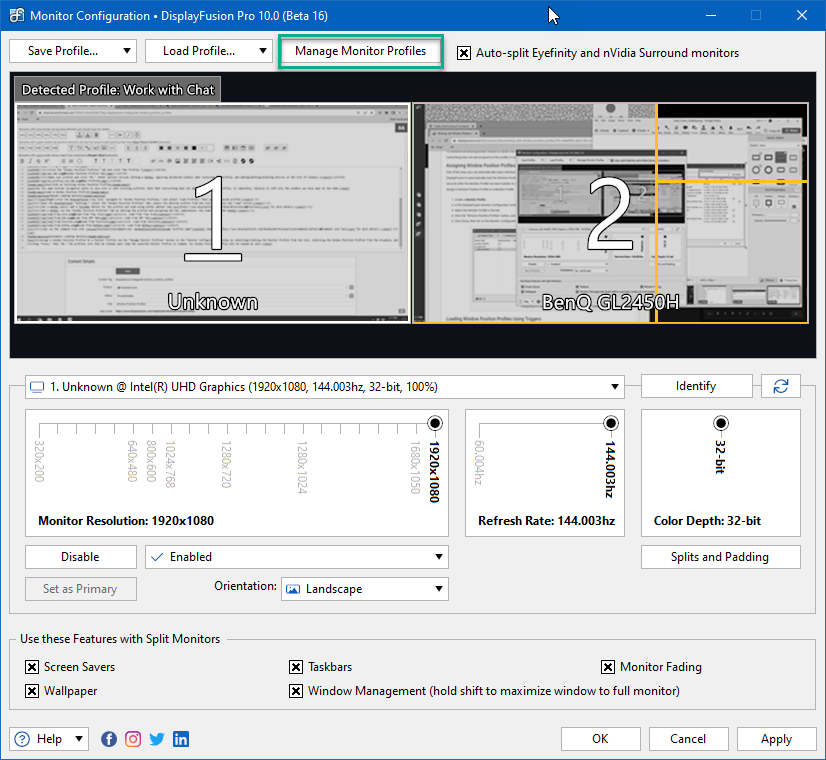
We're very excited to announce that DisplayFusion 9.2 is now available for download! We've overhauled the Monitor Configuration behind-the-scenes code, added a Window Position Profiles feature, and fixed up a few bugs caused by the Windows 10 April 2018 (1803) update!
We encourage everyone to update to this new version today to take advantage of these improvements. If you've already purchased DisplayFusion, it's a lifetime license, so you can upgrade to this version at no cost! If you would like to see a complete list of all the changes, please visit the DisplayFusion Change Log. We'd like to send out a big thanks to the dozens of people who helped with the DisplayFusion translations, and the thousands of people that helped test the Beta versions. Thanks everyone!
We're very excited to announce that DisplayFusion 9.2 Beta 4 is available for download! This release fixes a few issues before the final version of 9.2.
Note: The first time you click the Screen Saver tab in the Settings window, it will be slow to load due to Windows Defender scanning the updated screen saver files.
We encourage anyone who likes to test the bleeding edge to update to this new version today to take advantage of these improvements. If you've already purchased DisplayFusion, it's a lifetime license, so you can upgrade to this version at no cost! If you would like to see a complete list of all the changes, please visit the DisplayFusion Beta Change Log.
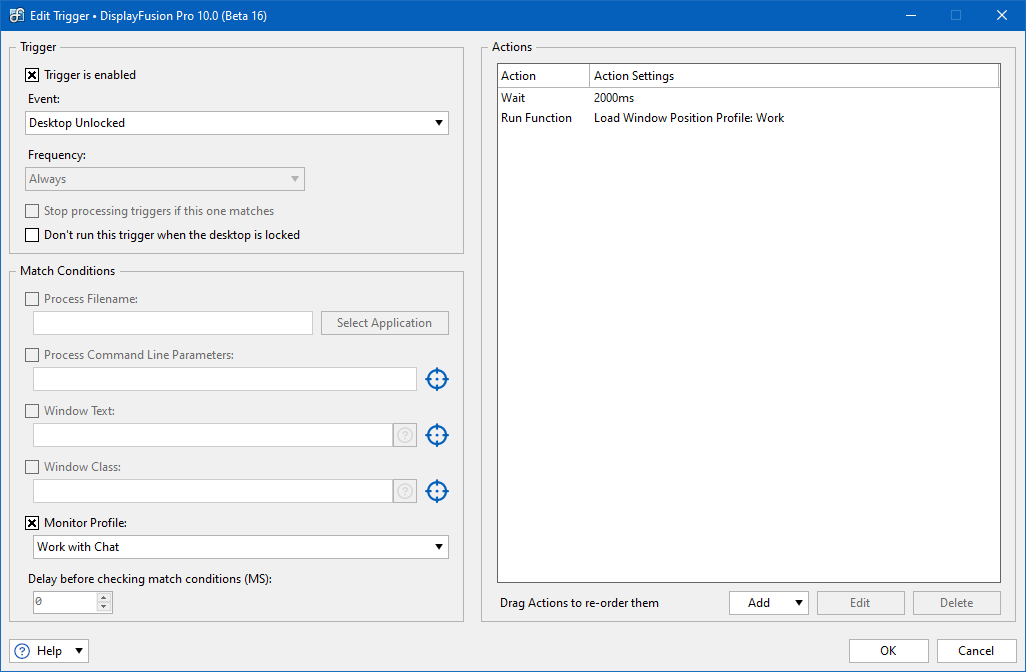
DisplayFusionCommand.exe -WindowPositionProfileLoad "profile name"
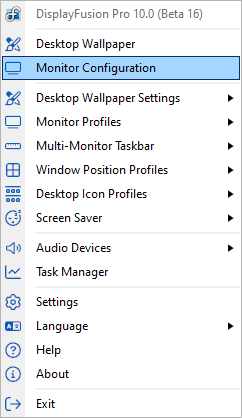
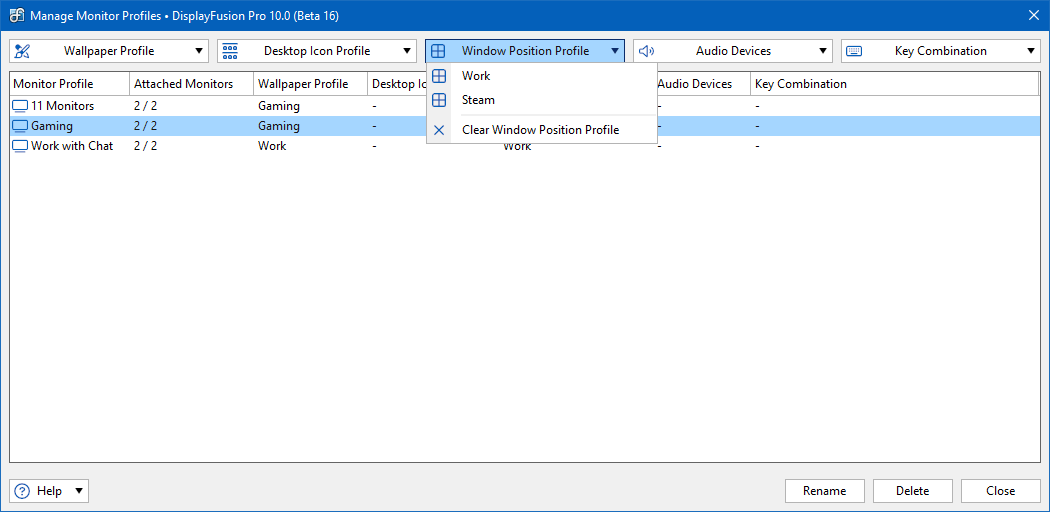
We're very excited to announce that DisplayFusion 9.2 Beta 3 is available for download! This release fixes a bunch of issues, and adds a new feature, Window Position Profiles!
Note: The first time you click the Screen Saver tab in the Settings window, it will be slow to load due to Windows Defender scanning the updated screen saver files.
We encourage anyone who likes to test the bleeding edge to update to this new version today to take advantage of these improvements. If you've already purchased DisplayFusion, it's a lifetime license, so you can upgrade to this version at no cost! If you would like to see a complete list of all the changes, please visit the DisplayFusion Beta Change Log.
We're very excited to announce that DisplayFusion 9.2 Beta 2 is available for download! This release fixes a bunch of issues, and also adds much improved Monitor Config/Profile support.
Note: The first time you click the Screen Saver tab in the Settings window, it will be slow to load due to Windows Defender scanning the updated screen saver files.
We encourage anyone who likes to test the bleeding edge to update to this new version today to take advantage of these improvements. If you've already purchased DisplayFusion, it's a lifetime license, so you can upgrade to this version at no cost! If you would like to see a complete list of all the changes, please visit the DisplayFusion Beta Change Log.


